This week’s blog post has been written by Katharine Waldron, postgraduate student at the Courtauld Institute of Art, London and former volunteer at the Norfolk Record Office.
I am in my first year on the Postgraduate Diploma in the Conservation of Easel Paintings at the Courtauld Institute of Art, London. For a while, in 2014 I was fortunate enough to volunteer with the Norfolk Record Office paper conservators, who gave me some valuable hands-on experience and sealed the decision that conservation was for me. Among other things, I cleaned 18th century tithe maps on parchment and paper, measured up and made protective pouch enclosures for document seals, removed mould from a collection of 16th-18th century architectural notebooks of parchment, paper and leather, helped to digitise some items from the collection, and observed research into the decolourisation of isinglass glue. My experience also introduced me to the interdisciplinary nature of the profession; although I have chosen the paintings route, I use what I learnt at the NRO every day and the experience was invaluable for my application to the Courtauld. Below is a glimpse of what I have been up to so far!
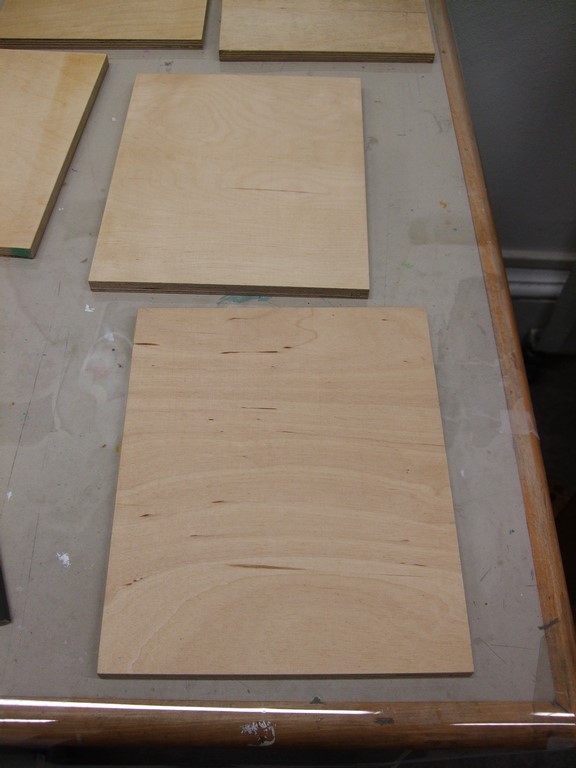
The course began with the making of ‘replica’ paintings using the traditional materials and techniques of key periods in Western art. Before beginning any sort of conservation treatment on a painting, it is important to understand the physical and chemical properties of the materials involved, and also their handling properties. We began with the Italian trecento, following as closely as possible the methods described by Cennino Cennini, the author of a 14th-century ‘Craftsman’s Handbook.’ Panels would have been made from poplar, but we made do with plywood.
We began with an application of rabbit skin glue followed by a layer of muslin and several layers of gesso grosso, a mixture of gypsum (calcium sulphate) and rabbit skin glue.
Panel after application of rabbit skin glue.
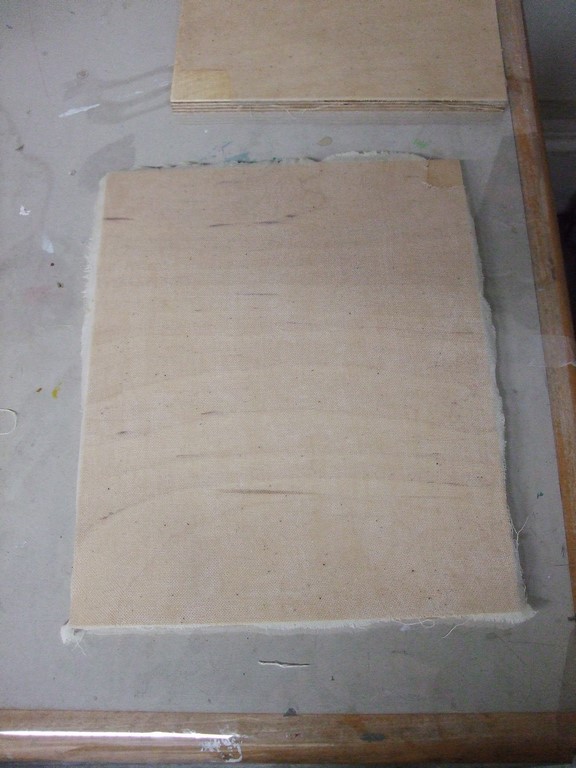
Panel after layer of muslin added and glued again.
The final layers were gesso sottile, which is gesso grosso purified for a month by soaking it in water – we used the little dried balls of gesso sottile made by last year’s first-years. It is very soft and smooth, to provide cushioning for the application of gold leaf later.
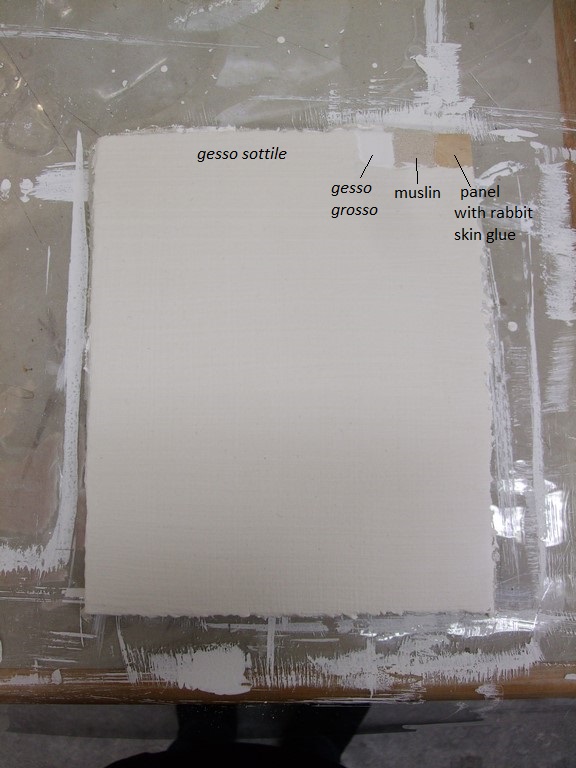
Panel after application of gesso grosso and gesso sottile, and scraped smooth.
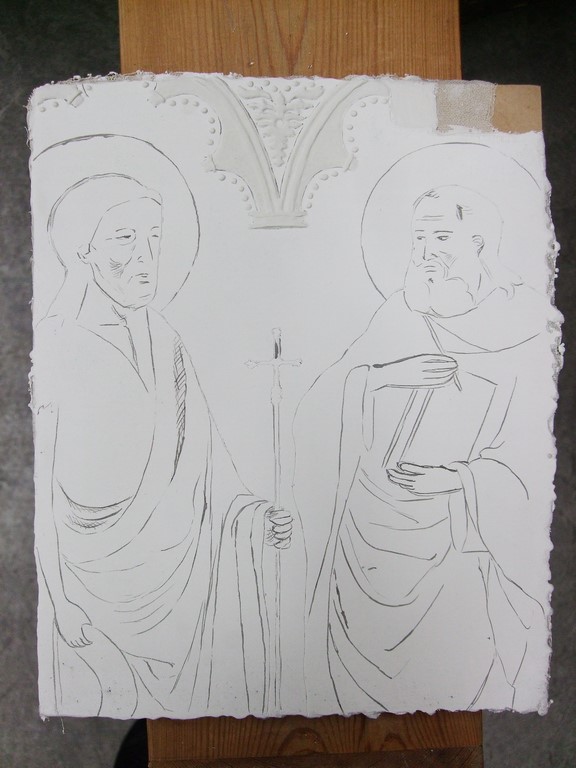
Once dry, we scraped down the gesso to make it completely smooth. The underdrawing was designed on a separate piece of paper and transferred onto the panel by pouncing, in which holes are punched along the outlines and a cloth ball of charcoal dust patted over them; the lines were reinforced using dilute ink.
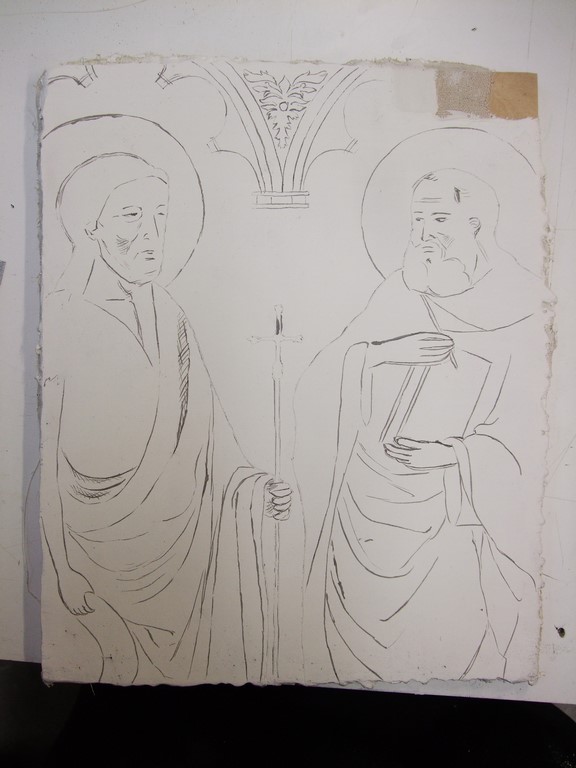
Panel after transfer of design and reinforcement in ink.
We then created patterns of raised decoration called pastiglia, built up in several layers of gesso sottile.
Panel after addition of pastiglia decoration.
We applied clay bole mixed in water to the surfaces that we wanted to gild, brushing it on in several layers.
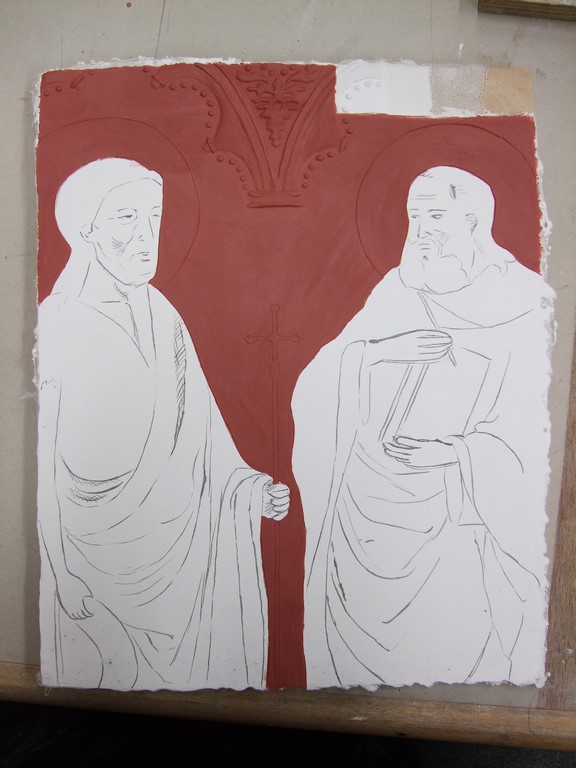
Panel after application of clay bole.
Once dry, we burnished the bole and applied the gold leaf. It was important not to feel rushed for this part, and to cut the gold carefully so that there was little overlap. I discovered later the importance of getting the gold as flat as possible; any raised creases tore away easily, causing breaks in the surface.
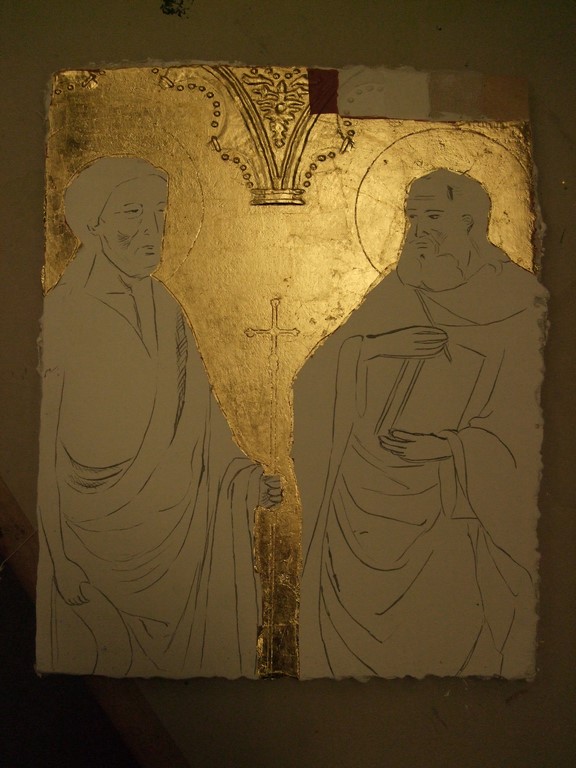
Panel after gilding.
After several days we burnished the gold using an agate burnisher (it was ready to burnish if it made the right ‘click’ sound when tapped with the burnisher). Burnishing made the gold surface smooth, dark and mirror-like. We punched patterns into the gold to create the haloes. I based my patterns on some panel paintings in the Courtauld collection. Certain punch marks have been associated with particular artists’ workshops, but I chose to use a single nail for all of mine (so it took quite a long time!)
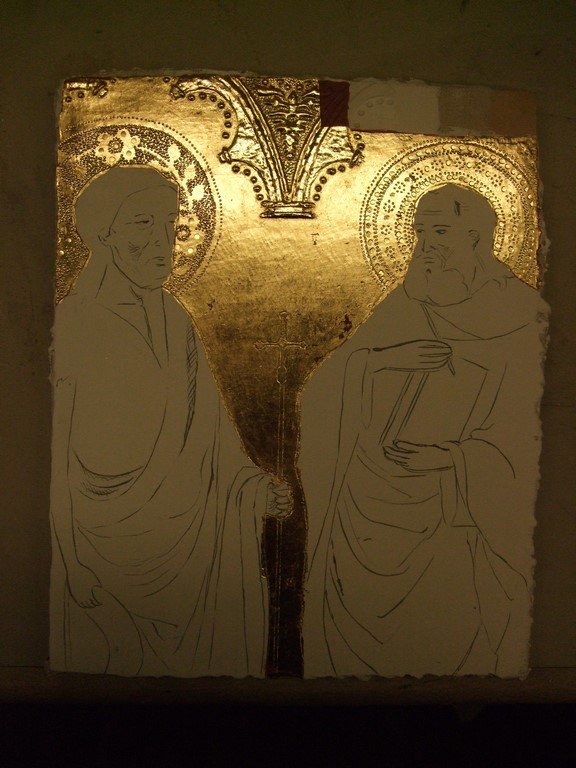
Panel after burnishing and punching the gold.
We ground pigments characteristic of the 13th-century palette and tempered them with egg yolk and water. The painting process required careful reading of Cennino’s instructions. Skin tones were typically modelled over a layer of green earth pigment mixed with white.
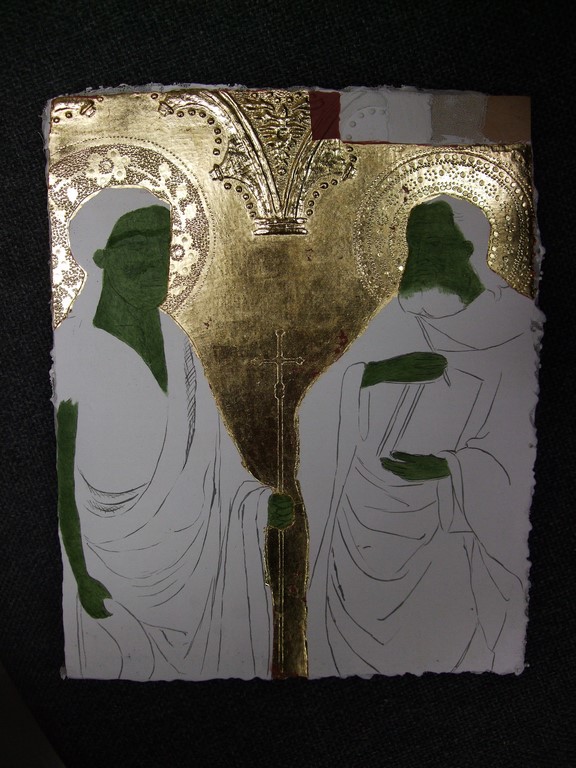
Layer of terra verte (green earth) applied to flesh areas.
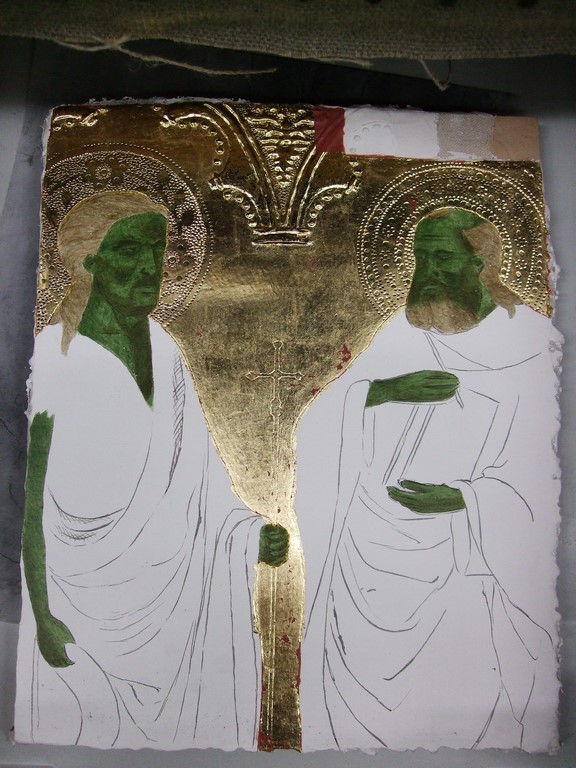
Undermodelling (verdaccio) for the shadows in the flesh areas.
To create the folds in the draperies, we created different shades of the same colour and gradually built them up in the shadows and highlights using small, short brushstrokes, because egg tempera paint cannot be blended or worked over many times.
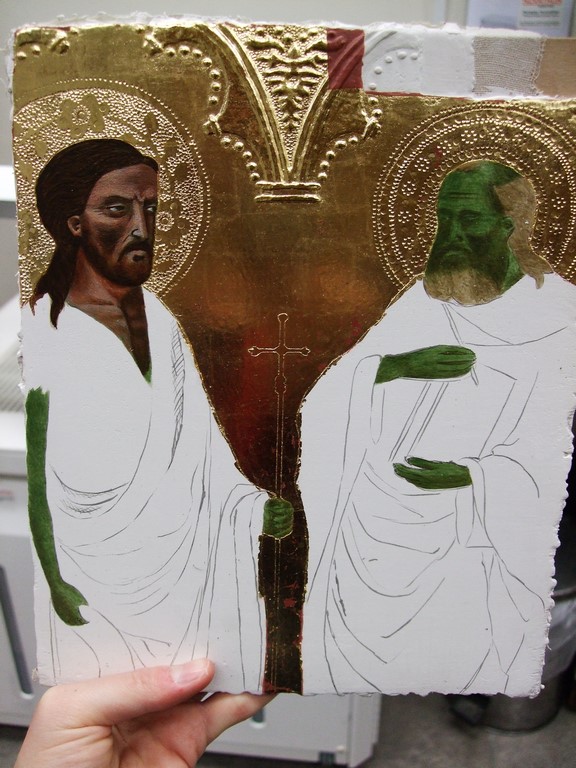
During the addition of flesh colours, building up paler colours in the lighter areas of flesh.
We created sgraffito, a technique seen in many early Italian altarpieces and achieved by painting over the gold leaf and then scratching patterns into the paint to reveal the gold. I based my sgraffito on Nardo di Cione’s Three Saints altarpiece in the National Gallery.
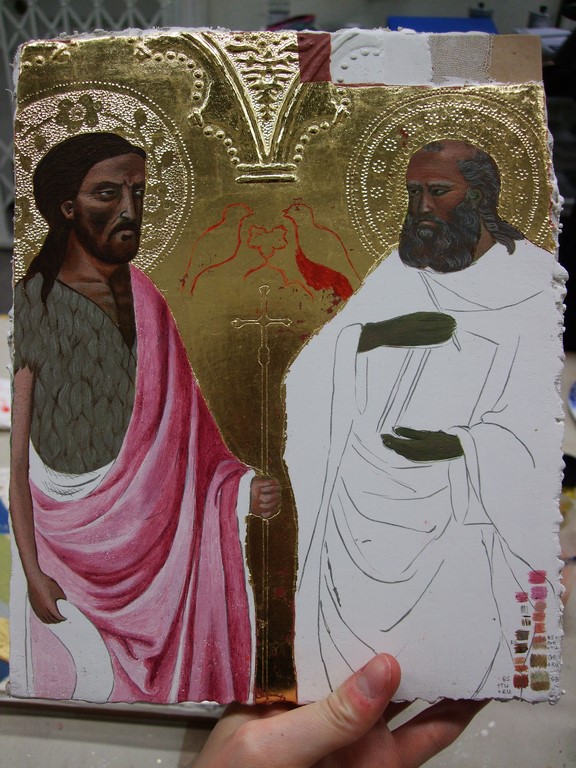
During painting and beginning to paint over the gold in preparation for sgraffito. The small squares in the bottom right corner show how I tested out the layering of different colours.
We also tried mordant gilding, where a sticky resin is applied to the paint surface in lines or patterns and, once dry, gold leaf applied to it. This was much harder than the previous gilding method, and unfortunately mine looks quite messy.
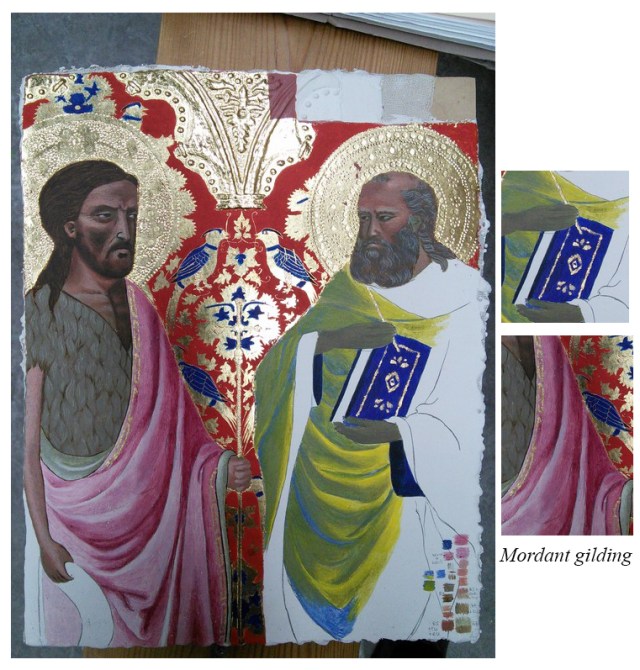
During painting, sgraffito and mordant gilding (the pen and decoration on the book and cloak hems were done with mordant gilding). Sadly this is where I had to leave it!
I had read about the different stages behind the making of these composite objects, but actually re-creating them made me realise how time-consuming each stage is and just how difficult some of the materials are to work with. We lacked the level of experience accrued by medieval craftsmen and worked on every stage ourselves, whereas there would have been specialists within workshops to speed up the process. But having created a painting from start to finish using these techniques, it is much easier to analyse the layer structure of paintings from the Italian trecento and appreciate how and why certain materials and techniques were used, and what effect these have on the appearance of the paintings today.